PHIGOLF Home Simulator
8.0Editor score9-axis motion sensor
38,000+ virtual courses
AI swing coaching
iOS and Android
Compare 9 golf simulators by accuracy, course libraries, setup, and value. Find the right launch monitor or enclosure system for your space and budget.
Find the right golf simulator for 2026. We compare 9 standout options by the factors that matter most in this category, including launch monitor accuracy, swing tracking technology, course libraries, enclosure quality, software subscriptions, setup complexity, and overall value for your practice space.
Golf simulators range from compact smartphone-connected sensors to full enclosure setups with premium launch monitors. The right choice depends on your available space, budget, skill level, and whether you prioritize data accuracy, course play, or simple swing practice at home.
This guide breaks down each option with clear specs, practical trade-offs, and honest limitations. Whether you need a portable launch monitor for the driving range or a complete indoor simulator bay, you will find a focused comparison to simplify your decision.
We compared 9 golf simulators using the details that actually help a buyer decide: sensor accuracy, swing metrics, course availability, software costs, setup requirements, portability, enclosure quality, device compatibility, and long-term value. The notes focus on practical trade-offs so each pick feels connected to how golfers actually practice, play virtual rounds, and improve their game at home or on the range.


Compare key features, scores, and current prices side by side. A shorter feature list means fewer details were available, not necessarily fewer capabilities.




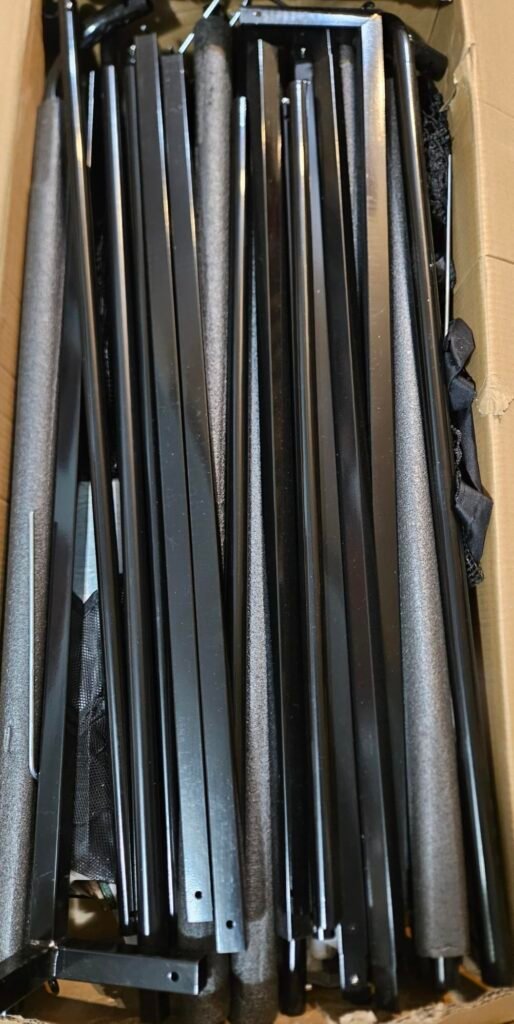
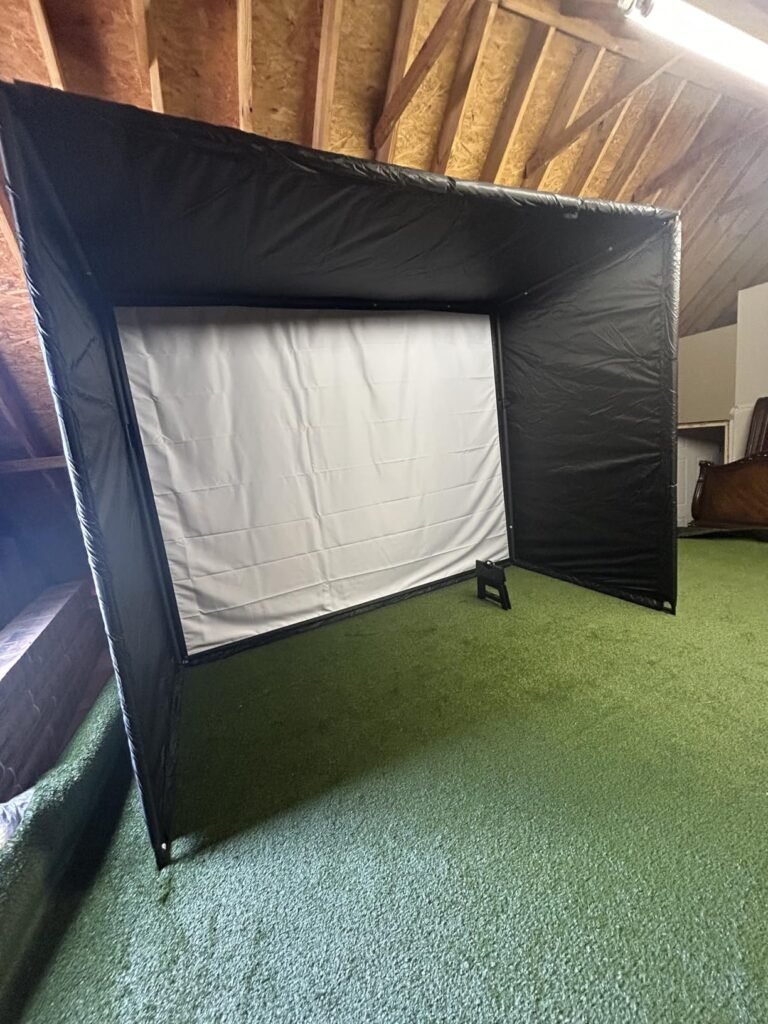
The Homevol 2-in-1 Net System earned the highest owner rating in this guide, and its versatility explains why. The 10-by-8-foot cage serves two distinct purposes depending on which front panel you install. Use the printed target cloth for straightforward driving and chipping practice with no electronics required, or swap in the 4K-ready impact screen when you want to connect a projector and launch monitor for full simulator play. This dual-mode design makes it practical for golfers who want to start with basic net practice and upgrade to a simulator setup later.
We may earn a commission when you buy through this link, at no additional cost to you.
Build quality is a step above typical backyard practice nets. The steel frame is wrapped in foam padding at key contact points, which reduces the harsh metallic clang that cheaper cages produce when a ball strikes the frame. The top protection net and side shank nets create an enclosed hitting area that contains high wedge shots and mishits, giving you more confidence to swing freely in a garage or backyard without worrying about stray balls hitting windows or parked cars.
The multi-hole chipping target cloth is a surprisingly useful addition for short-game work. Multiple target holes at varying heights let you practice distance control and trajectory from different chip distances, and you can turn it into a scoring game with family members who may not be interested in full-swing practice. The included hitting mat and practice balls mean you can start using the system immediately without additional purchases, which is a genuine convenience compared to enclosure packages that arrive as bare frames.
Many golfers overestimate how much they need a full simulator when a quality practice net would address their primary goal. If your main objective is to maintain swing mechanics during the off-season and hit balls with every club in your bag, a net system like this one provides the physical practice you need at a fraction of the cost. You can always add a launch monitor and projector later when your budget and space allow, making this a smart starting point.
The main limitation is that this is a physical practice system, not a complete simulator. You will need to add a launch monitor and projector separately if you want projected course play and swing data. The 10-by-8-foot footprint also demands a fair amount of floor space, so measure your garage or room carefully before committing. For golfers who want a durable, well-designed practice cage that can grow into a full simulator setup over time, this system offers excellent value and the highest satisfaction rating in our comparison.
Golfers in small apartments or rooms with low ceilings who cannot accommodate a 10-by-8-foot cage structure.
We may earn a commission when you buy through this link, at no additional cost to you.
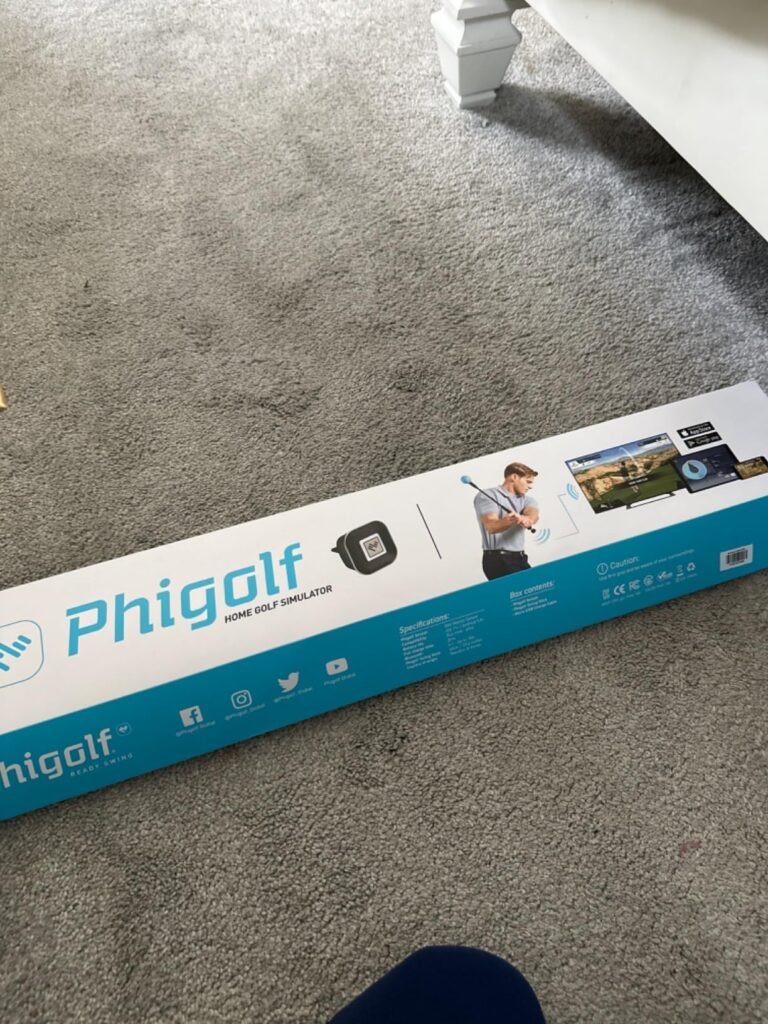
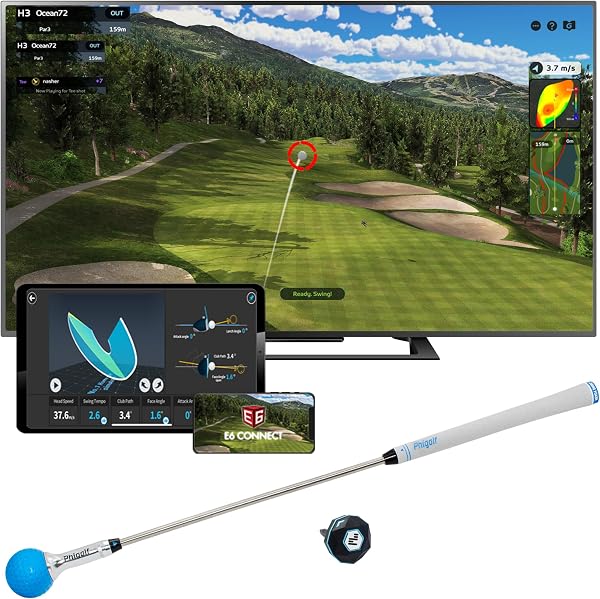
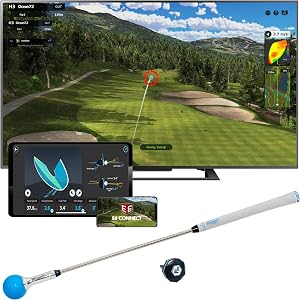
The PHIGOLF Home Simulator targets golfers who want an engaging practice experience without investing in a full launch monitor setup. Its 9-axis motion sensor attaches to the included swing stick or clips onto one of your own clubs, translating your swing into on-screen ball flight. This makes it one of the most accessible entry points for players who want to practice indoors during the off-season or after work without rearranging the garage.
We may earn a commission when you buy through this link, at no additional cost to you.
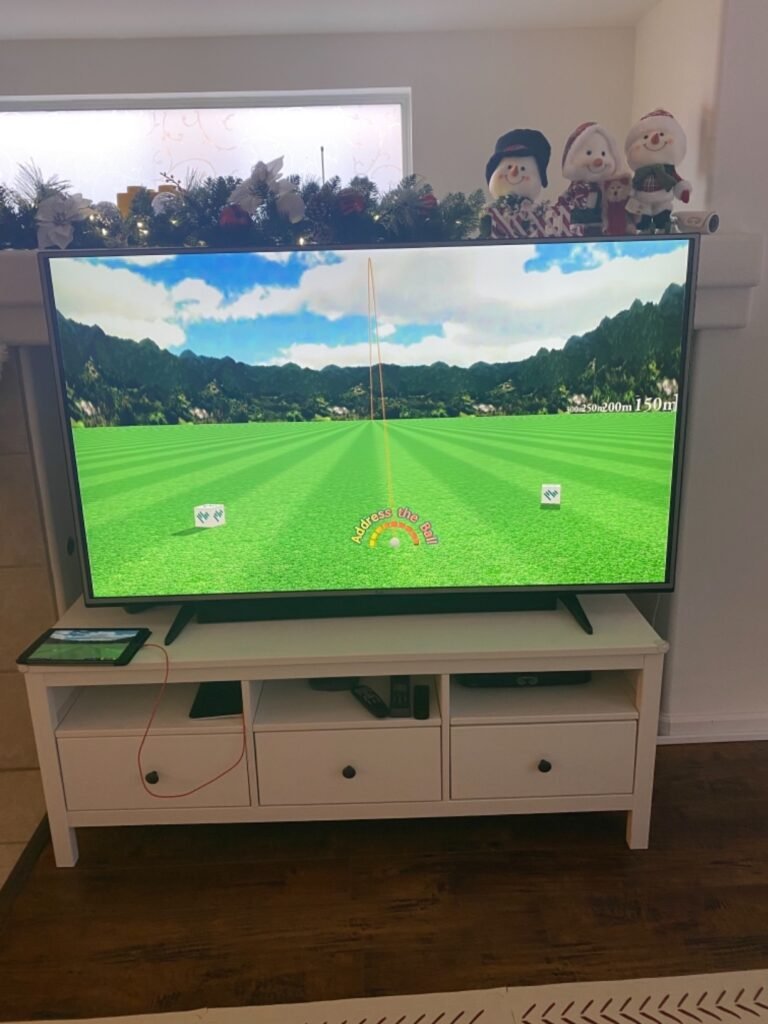
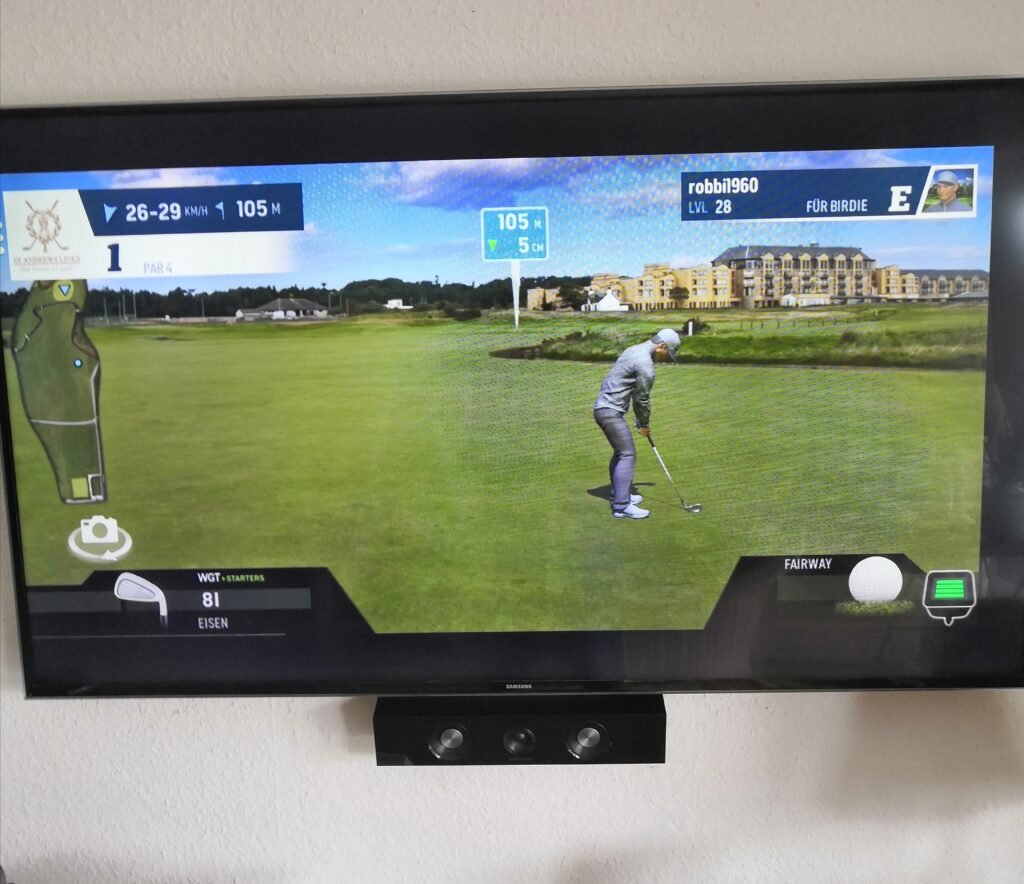
The course library is a genuine standout at this price point. Through the Phigolf app and E6 Connect integration, you gain access to over 38,000 real-world courses, which is a number that rivals systems costing several times more. The AI swing coach adds another layer of value by analyzing body pose, swing metrics, and providing corrective feedback for each phase of your motion. While the data will not match the precision of a Doppler radar unit, it gives casual and intermediate players enough detail to identify obvious swing faults and track improvement over time.
Setup is straightforward and requires minimal space. You can swing the included stick in a living room or bedroom, which removes the biggest barrier many golfers face when considering a home simulator. The app runs on both Android and iOS devices, so most households already own the necessary hardware. Multiplayer modes and online matches add a social element that keeps practice sessions from feeling repetitive, and the family-friendly game modes make it a reasonable option for households with younger or beginner players.
The included swing stick lets you practice in tighter spaces where swinging a full-length driver would be risky. However, attaching the sensor to one of your own clubs provides a more realistic feel and weight distribution, which can help transfer indoor practice to the course more effectively. If you have the ceiling height and clearance, using a real club with a foam or limited-flight ball is the better option for building consistent swing habits.
The main trade-off is data accuracy. A motion sensor attached to a club or stick cannot measure ball speed, spin rate, or launch angle with the same fidelity as a camera-based or radar-based launch monitor that tracks the actual ball in flight. If your primary goal is precise yardage gapping or competitive fitting data, a dedicated launch monitor will serve you better. But if you want an affordable, space-friendly way to stay connected to golf year-round and enjoy virtual rounds with friends, PHIGOLF delivers a compelling experience for the price.
Golfers who need tour-level spin and launch data for club fitting or serious handicap improvement.
We may earn a commission when you buy through this link, at no additional cost to you.
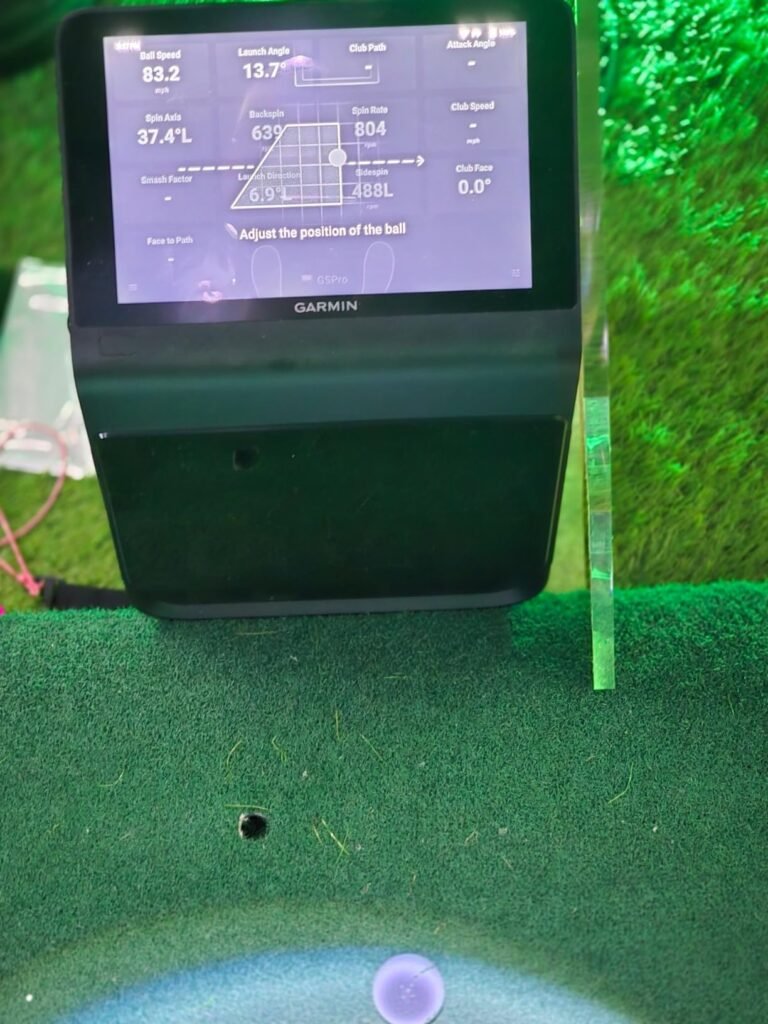
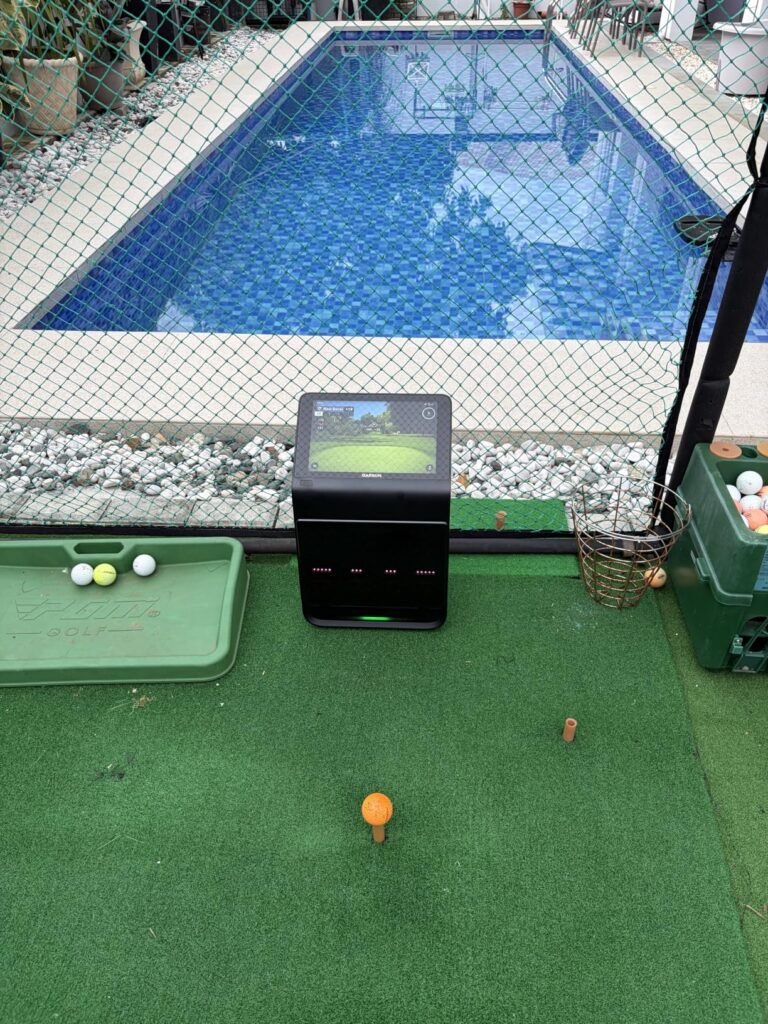
The Garmin Approach R50 sits at the top of this guide for a clear reason: it combines a three-camera tracking system, a built-in 10-inch color touchscreen, and high-speed impact video into a single self-contained unit. Most launch monitors at any price require you to connect a phone, tablet, or laptop to see your data. The R50 lets you review metrics, watch your strike, select courses, and play virtual rounds directly from the device, which simplifies setup and reduces the number of things that can go wrong during a session.
We may earn a commission when you buy through this link, at no additional cost to you.
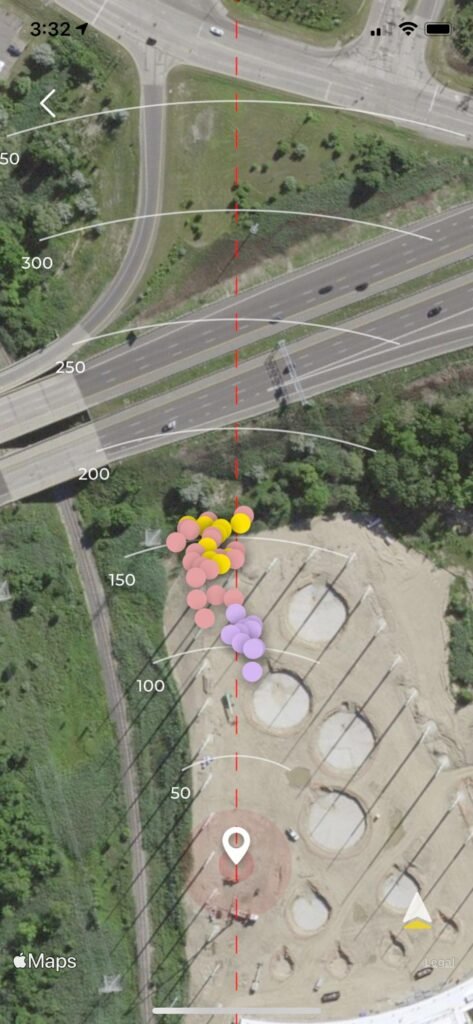
The data depth is substantial. Ball speed, launch angle, spin rate, spin axis, and face-to-path measurements give you the kind of granular feedback that low-handicap players and club fitters look for. The built-in barometer is a thoughtful addition that adjusts carry distances based on local atmospheric pressure, a detail that matters when you are trying to dial in precise yardages. Training mode tracks statistics for each club individually and generates shot dispersion charts, making it easier to identify which clubs are performing well and which need attention.
Course play is extensive, with access to more than 43,000 courses through the Home Tee Hero feature, including putting simulation for up to four players. The weekly tournament feature with a global leaderboard adds a competitive element that keeps practice engaging over the long term. HDMI output lets you connect the R50 to a larger monitor or projector for a more immersive simulator experience, which is valuable if you are building a dedicated golf bay in a garage or basement.
One of the most practical features of the R50 is the high-speed impact video captured by the three-camera system. Instead of guessing whether you struck the ball off the toe or heel, you can watch a slow-motion replay immediately after each shot. This kind of visual feedback accelerates improvement because it connects the feel of a swing to the actual point of contact, helping you make adjustments in real time rather than waiting to review footage later.
The price is the obvious barrier. At nearly five thousand dollars, the R50 is a significant investment that only makes sense for golfers who are committed to regular indoor practice and want the most complete data package available in a portable form factor. The ongoing Garmin Golf membership cost for full course access is another factor to budget for. If you have the space, the budget, and the dedication to use it consistently, the R50 delivers a simulator experience that rivals commercial installations costing considerably more.
Casual golfers or beginners who do not need advanced spin and face-angle data and would benefit more from a lower-cost option.
We may earn a commission when you buy through this link, at no additional cost to you.
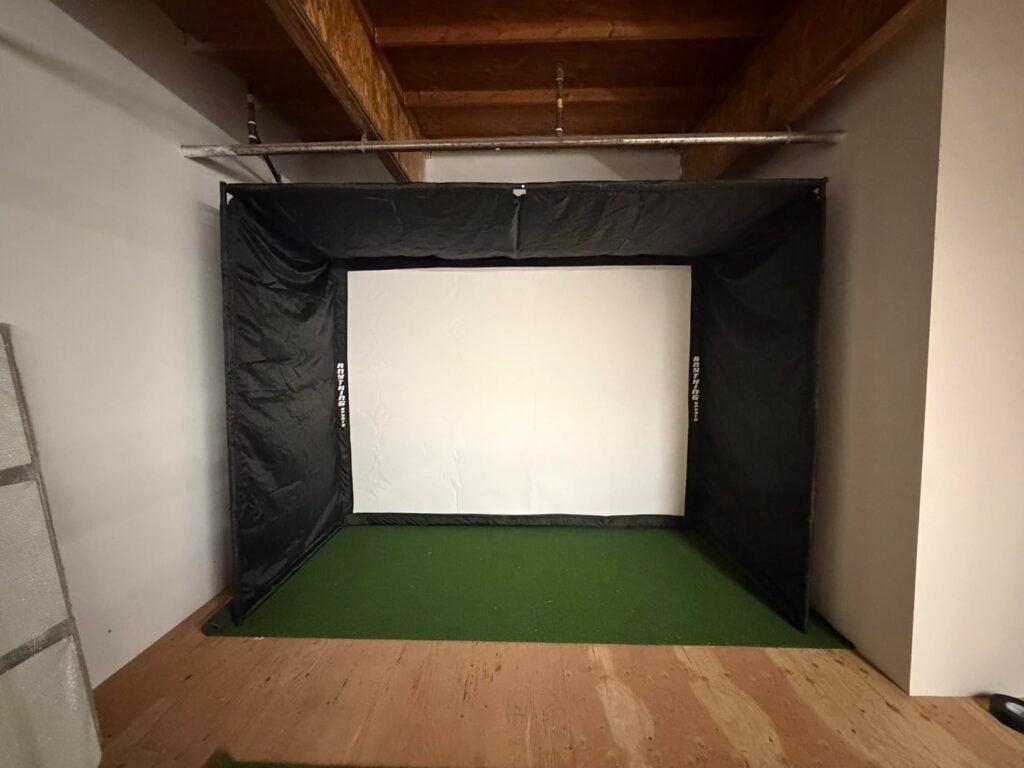
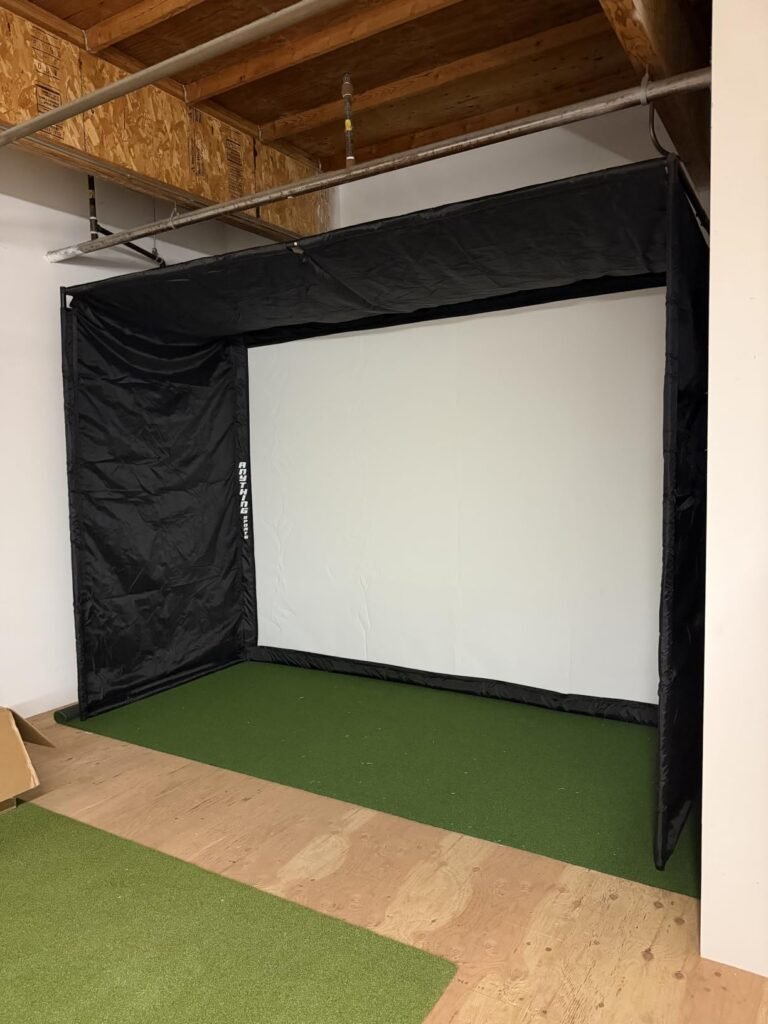
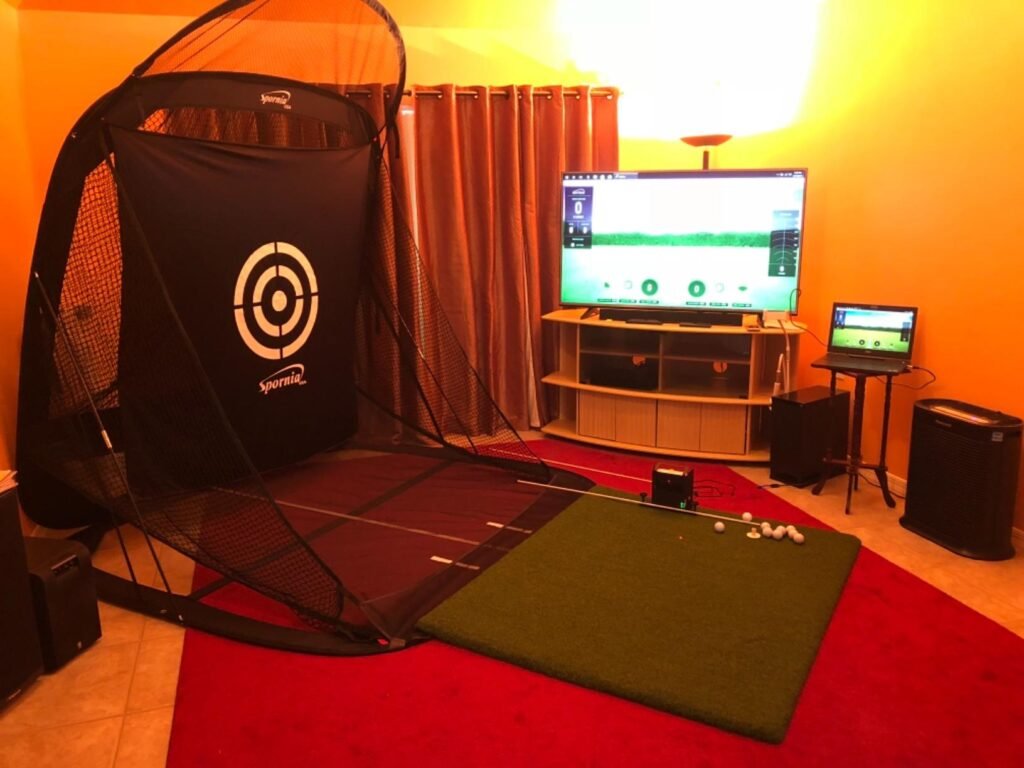
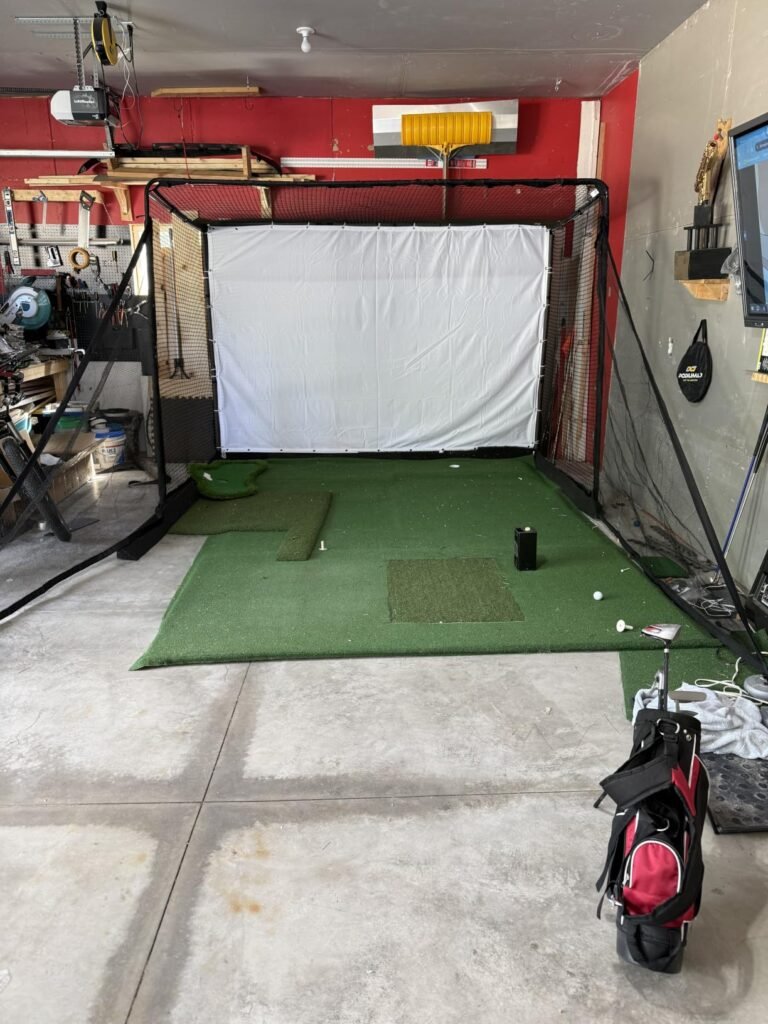
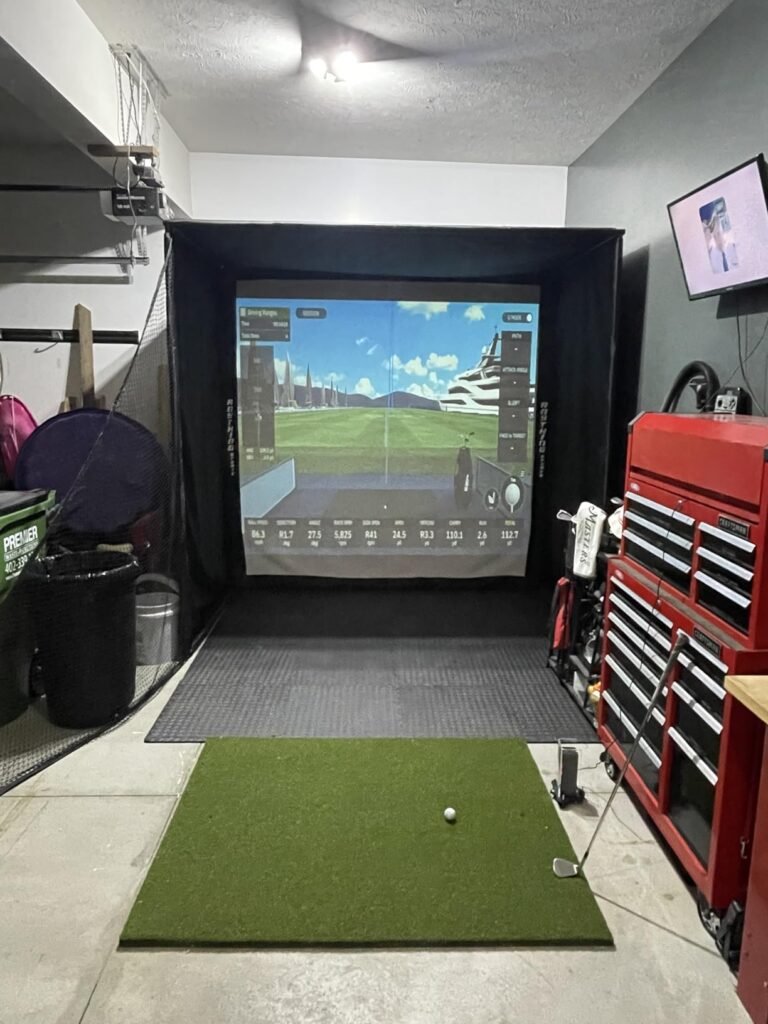
This enclosure package addresses the most common frustration for golfers building a home simulator: sourcing compatible components separately. The kit includes a 4K-ready impact screen, a blackout cage frame with all poles, side shank nets, and a projector mount, which eliminates the guesswork of matching screen dimensions to frame sizes. For anyone planning to pair a launch monitor with a projected image, this is the physical infrastructure you need to contain shots safely and display a clean picture.
We may earn a commission when you buy through this link, at no additional cost to you.
The impact screen is sized roughly one inch smaller than the frame on each side, creating a taut surface that minimizes sag and light bleed during projection. This matters more than many first-time buyers realize because a loose screen produces a washed-out image and can cause unpredictable ball rebound. The blackout cage material around the perimeter helps block ambient light, which improves contrast and makes the projected course visuals more immersive, especially in garages or basements with overhead lighting.
Assembly is designed to be completed in under an hour without drilling or specialized tools. The frame poles connect with straightforward fittings, and the screen attaches to the frame with a simple fastening system. Multiple size options are available to accommodate different room dimensions, so you can choose a configuration that maximizes your hitting area without overwhelming the space. The included side shank nets add an important layer of safety by catching errant shots that would otherwise hit walls or garage doors.
Before ordering, measure your ceiling height, room width, and the distance from your hitting position to the screen. You need enough clearance behind you for a full driver swing and enough depth in front of the screen to allow the ball to decelerate safely. A common mistake is choosing the largest enclosure that fits the room dimensions without leaving adequate swing clearance, which leads to ceiling strikes or restricted follow-through. Prioritize swing space over screen size for a better long-term experience.
It is important to understand what this package does not include. There is no hitting turf, no projector, and no launch monitor in the box. The product images showing a fully outfitted simulator bay are for demonstration purposes. You will need to budget for those components separately, which can add several hundred to several thousand dollars depending on your choices. However, as a structural foundation for a home simulator, this enclosure offers solid build quality, thoughtful design details, and a 12-month warranty with responsive U.S.-based support.
Golfers who only need a practice net without projected course visuals or launch monitor integration.
We may earn a commission when you buy through this link, at no additional cost to you.
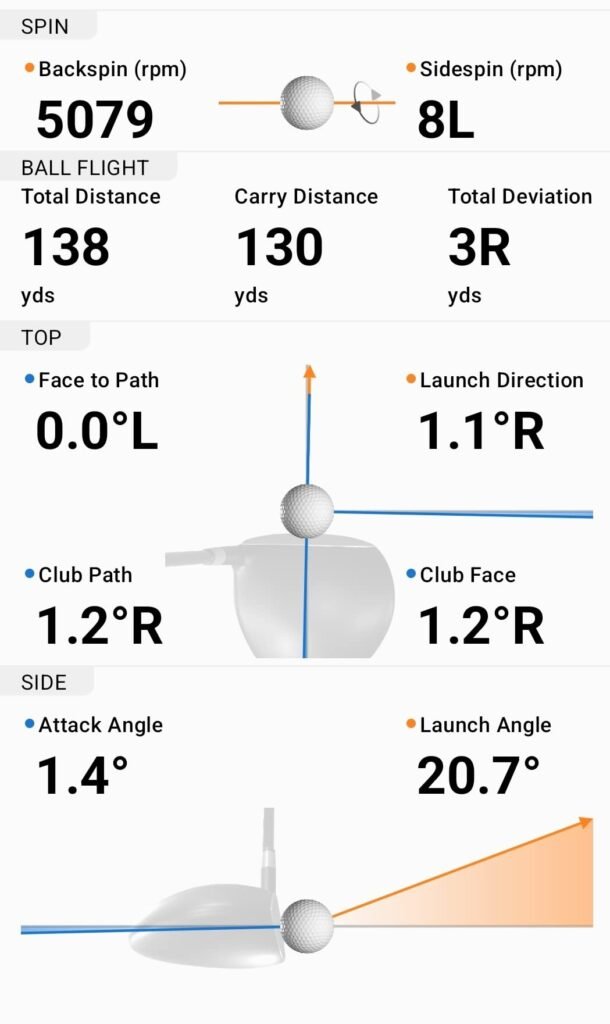
The Garmin Approach R10 occupies a sweet spot in the golf simulator market by offering meaningful launch data and virtual course play in a compact, portable package at a mid-range price. It sits behind the ball on the ground and uses radar-based tracking to measure club head speed, ball speed, launch angle, swing tempo, and spin. The included phone mount clips to your golf bag, making it easy to glance at your numbers during a range session without fumbling with a tripod or separate stand.
We may earn a commission when you buy through this link, at no additional cost to you.
One of the most useful features is the automatic swing video recording. When paired with a compatible smartphone running the Garmin Golf app, the R10 captures short video clips of each swing and overlays the relevant metrics directly on the footage. This bridges the gap between raw numbers and visual feedback, helping you connect what a swing looked like to the data it produced. Training mode adds another practical layer by tracking statistics for each club and generating shot dispersion charts based on estimated ball flight.
Portability is where the R10 really shines compared to larger launch monitors. It weighs very little, fits in a golf bag pocket, and delivers up to 10 hours of battery life on a single charge. The IPX7 waterproof rating means you can leave it out on the range during a light rain without worrying about damage. This makes it a practical choice for golfers who split their practice time between indoor simulator sessions and outdoor range work, since the same device handles both environments.
Radar-based launch monitors like the R10 generally perform best outdoors where the ball has enough flight time for the sensor to track its trajectory accurately. Indoors, the limited ball flight in a net or enclosure can reduce the precision of spin and carry measurements. If you plan to use the R10 primarily indoors, position it according to the manufacturer guidelines and allow as much ball flight distance as your space permits to get the most reliable readings.
The main consideration is the subscription model. While the R10 provides basic shot data through the free Garmin Golf app, unlocking the full library of over 42,000 virtual courses and weekly tournament features requires an active Garmin Golf membership. Factor that recurring cost into your budget before purchasing. Even without the subscription, the core launch data and training mode provide substantial value for golfers focused on improving consistency and understanding their yardage gaps.
Golfers who want a self-contained unit with a built-in display and do not want to rely on a smartphone during sessions.
We may earn a commission when you buy through this link, at no additional cost to you.
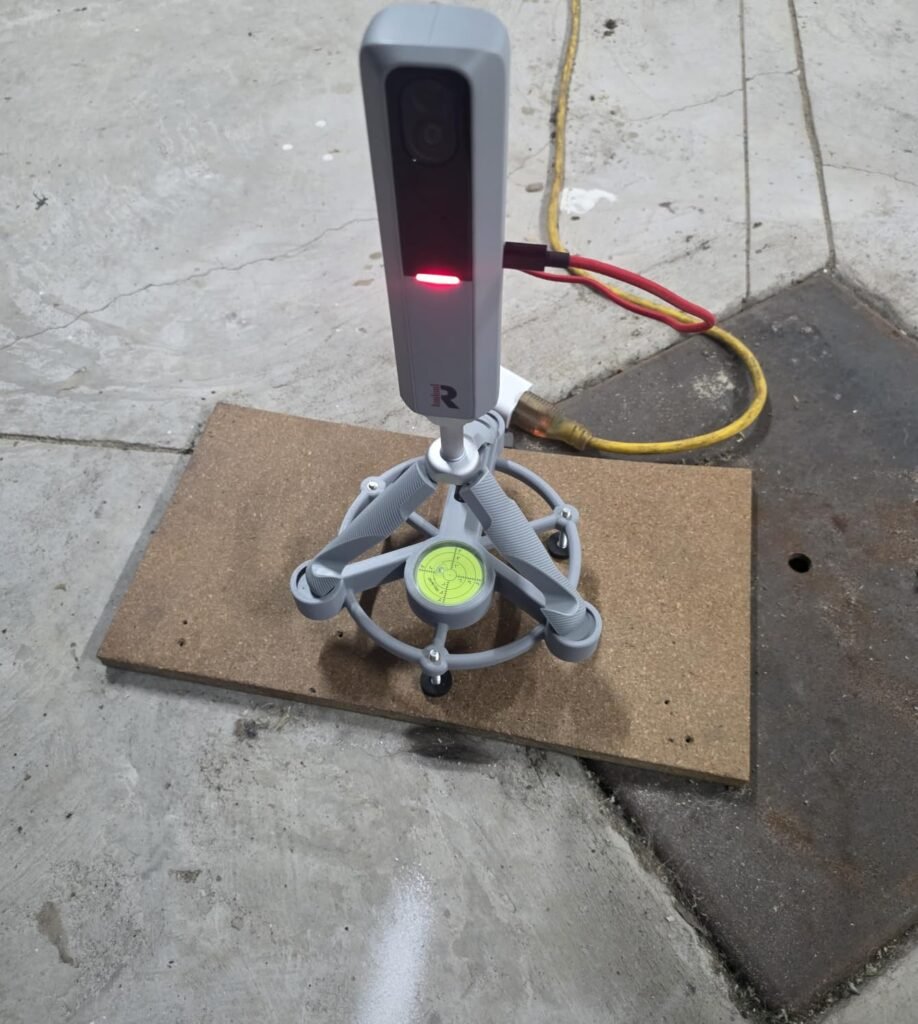
The Rapsodo Golf Launch Monitor differentiates itself by pairing Doppler radar with a dual-camera system, a combination that aims to deliver more comprehensive data than either technology alone. The radar tracks ball flight characteristics like carry distance, spin rate, and spin axis, while the cameras capture club delivery metrics such as club path and face angle. This dual-technology approach is designed to give data-oriented golfers a fuller picture of what is happening at impact and during the early moments of ball flight.
We may earn a commission when you buy through this link, at no additional cost to you.
The 15 captured metrics cover the most important data points that serious golfers and instructors rely on for swing analysis. Spin rate and spin axis are particularly valuable for understanding shot shape and controlling trajectory, and these are measurements that simpler launch monitors often estimate rather than directly measure. The impact vision feature uses the camera system to show precise club-to-ball contact in slow motion, which can reveal strike patterns that are difficult to detect from feel alone.
The included 45-day premium trial gives you full access to simulated courses, third-party app integration, target range modes, and speed training features right out of the box. With over 30,000 courses available through the premium tier, the course library is competitive with other major platforms. The inclusion of three Pro V1 practice balls is a small but practical touch, since having consistent, high-quality balls for indoor sessions improves the reliability of your launch data.
Spin rate is one of the most influential factors in shot shape and distance control, yet many budget launch monitors either skip it entirely or provide rough estimates. Excessive backspin on a driver robs distance, while insufficient spin on approach shots makes it harder to hold greens. Having reliable spin data allows you to make informed equipment and swing changes rather than guessing why certain shots fly too high or fall short of your target.
The 3.8-star rating is worth noting and suggests that some buyers have encountered challenges with setup, calibration, or data consistency. Dual-technology systems can be more sensitive to positioning and environmental conditions than single-sensor units, so plan to spend some time learning the optimal placement for your space. If you are willing to invest that effort and the ongoing subscription cost aligns with your budget, the Rapsodo offers a data depth that punches above its price point.
Golfers who want a simple plug-and-play experience without spending time on calibration and positioning.
We may earn a commission when you buy through this link, at no additional cost to you.
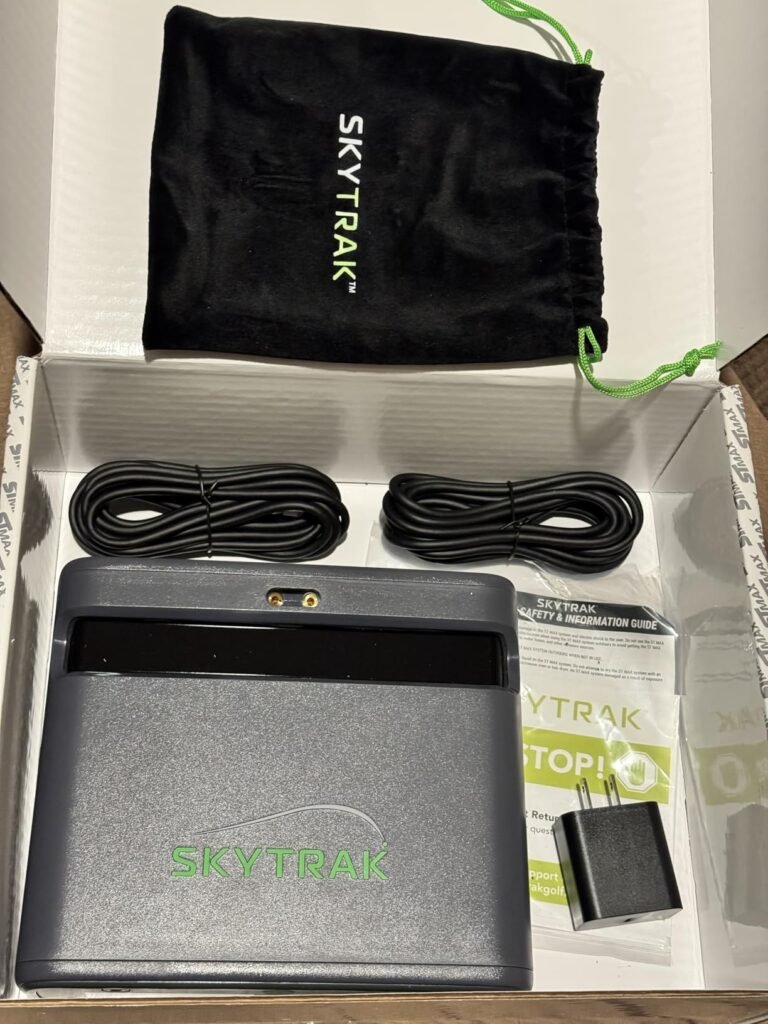
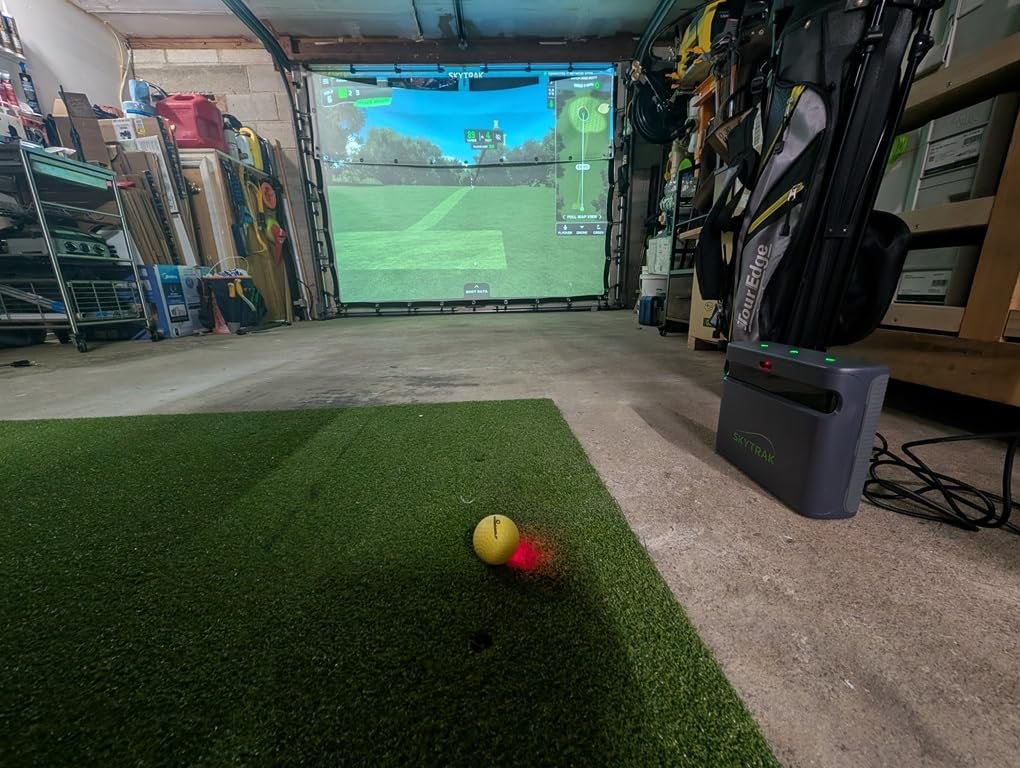
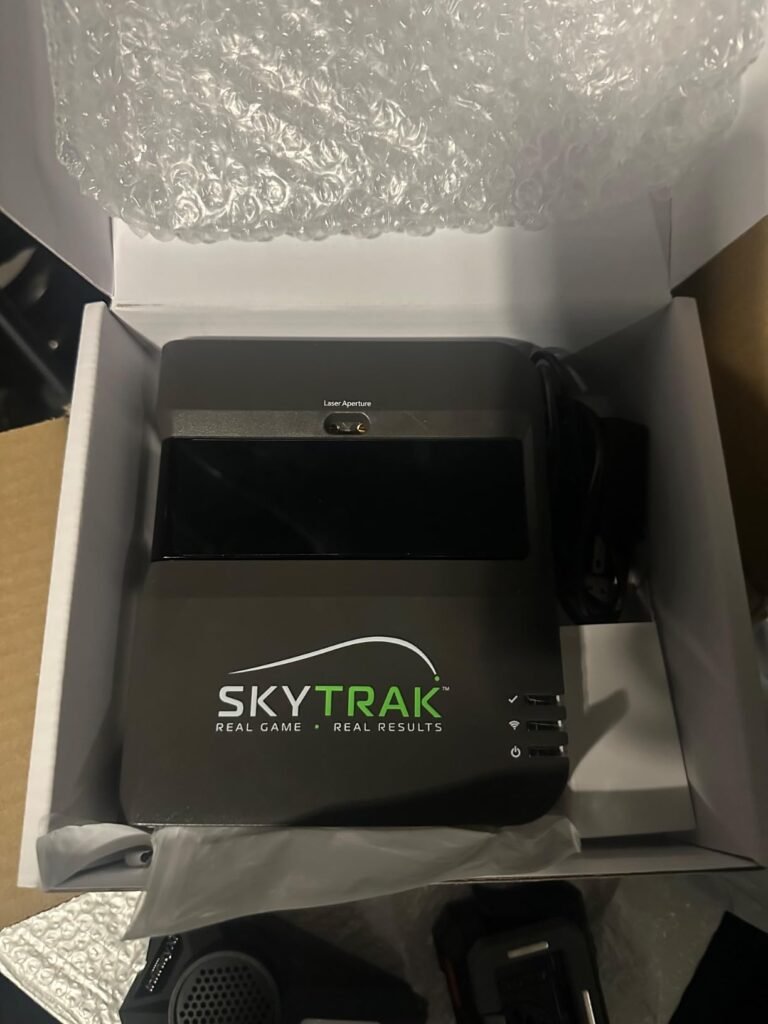
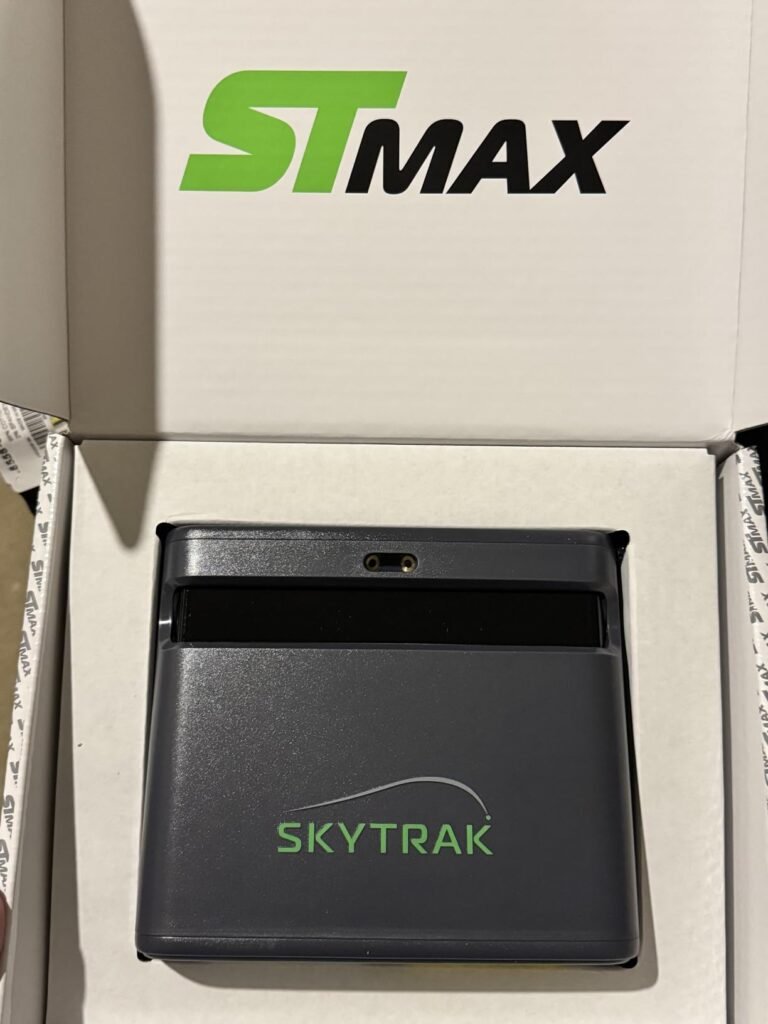
The SkyTrak ST MAX represents the next generation of the well-known SkyTrak launch monitor line, now built on the Foresight Sports platform following the brand's acquisition. The most immediate value proposition is the included one-year subscription to Core Foresight software, which eliminates the upfront software cost that often surprises buyers of competing launch monitors. This gives you a full year of course play, practice modes, and data analysis without additional fees beyond the hardware purchase.
We may earn a commission when you buy through this link, at no additional cost to you.
Photometric launch monitors like the ST MAX use high-speed cameras to capture the ball immediately after impact, measuring ball speed, launch angle, spin, and shot shape from the first few inches of flight. This technology tends to perform more consistently indoors than radar-based systems, which need longer ball flight distances to generate accurate readings. If your primary use case is an indoor simulator bay or garage setup, photometric tracking is generally the more reliable choice.
The Foresight software platform is widely regarded as one of the most accurate and feature-rich simulation environments available, and it is the same platform used in commercial simulator installations at golf facilities and fitting studios. Having access to this software ecosystem on a personal launch monitor is a meaningful advantage for golfers who want a professional-grade simulation experience at home. The course rendering quality and physics modeling are among the best in the consumer market.
Photometric launch monitors capture the ball in the first moments after impact using high-speed cameras, which means they do not need a long flight path to produce accurate data. Radar-based monitors, by contrast, track the ball over a longer distance and can struggle in tight indoor spaces where the ball hits a net after only a few feet. If your simulator bay has less than 15 feet of ball flight room, a photometric system like the ST MAX will typically deliver more consistent and reliable numbers.
The main consideration is the long-term software cost. After the included first year, you will need to maintain a Foresight subscription to continue accessing course play and advanced features. Factor this recurring expense into your total cost of ownership when comparing the ST MAX to launch monitors with different software pricing models. If you value software quality and indoor accuracy above all else, the ST MAX and its Foresight integration make a strong case at this price point.
Golfers who primarily practice outdoors at the driving range and want a monitor optimized for long-range ball flight tracking.
We may earn a commission when you buy through this link, at no additional cost to you.
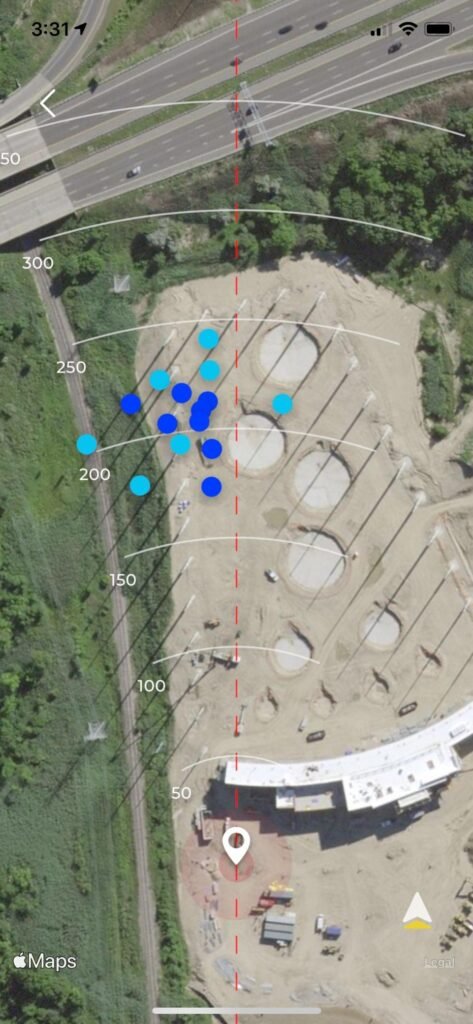
At under two hundred dollars, the Rapsodo Mobile Launch Monitor is the most affordable dedicated launch monitor in this guide, and it delivers a focused set of features that address the most common practice needs. It measures ball speed, club speed, launch angle, carry distance, and shot shape on every swing, giving you the core data points needed to understand your yardage gaps and track improvement over time. For golfers who currently rely on guesswork at the driving range, these numbers alone can transform the quality of practice sessions.
We may earn a commission when you buy through this link, at no additional cost to you.
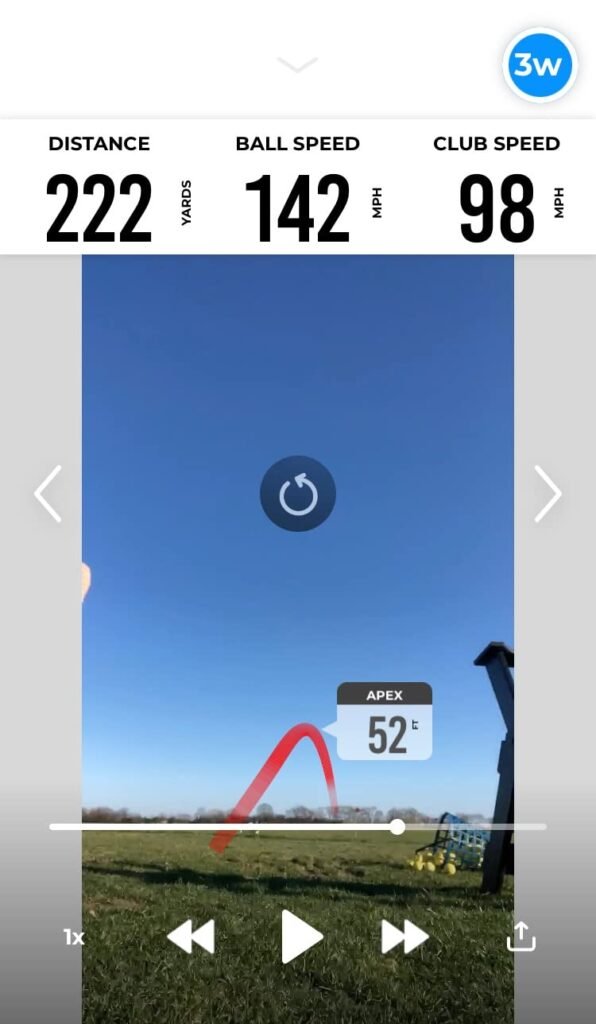
The shot tracer feature is the standout element at this price. The Rapsodo records each swing and overlays a visual ball flight path on the video replay, showing you the actual trajectory and shape of every shot. This is the same type of tracer graphic you see on professional tournament broadcasts, and having it available during a casual range session makes it much easier to identify swing faults like slices, hooks, or inconsistent launch angles. The visual feedback is immediate and intuitive, even for beginners.
Portability is exceptional. The unit is small enough to fit in a golf bag pocket and sets up in seconds by placing it behind the ball and connecting to the free Rapsodo app on your iPhone or iPad. There is no calibration process, no external power source, and no complex positioning to figure out. This simplicity makes it an ideal companion for golfers who want to bring data to the driving range without spending the first ten minutes of every session fiddling with equipment.
To maximize the value of a budget launch monitor, focus on one or two metrics per session rather than trying to analyze everything at once. A productive approach is to dedicate one range visit to confirming carry distances with each iron, recording the average for each club, and building a personal yardage chart. On another day, focus on shot shape consistency with your driver. This targeted practice is more effective than hitting random balls while glancing at numbers without a clear goal.
The primary limitations are platform compatibility and metric depth. The Rapsodo Mobile works exclusively with iOS devices, so Android users will need to look elsewhere. The data set is also more limited than what you get from higher-priced monitors, with no direct spin rate or spin axis measurements. For golfers who want basic carry distance confirmation and visual shot feedback at the lowest possible cost, the Rapsodo Mobile is a practical and well-regarded choice.
Android users or golfers who need detailed spin and club path data for advanced swing analysis.
We may earn a commission when you buy through this link, at no additional cost to you.
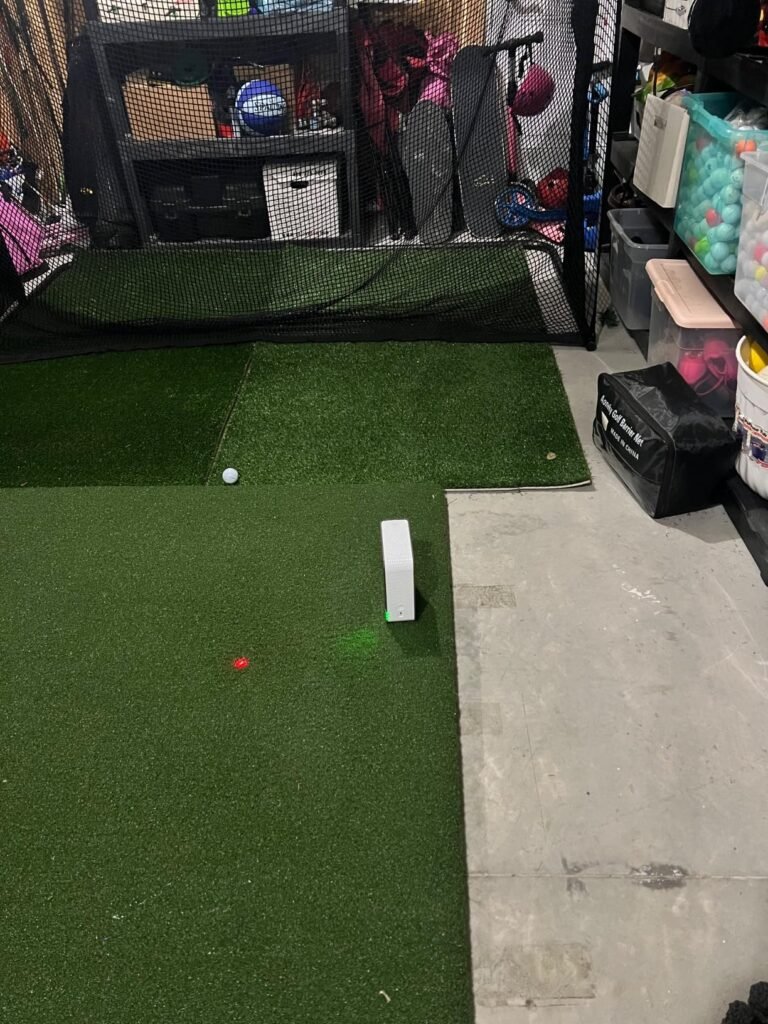
The original SkyTrak Launch Monitor has been a staple of the home golf simulator market for years, and its photometric tracking technology remains a reliable choice for golfers who prioritize indoor accuracy. The unit sits next to the ball on the hitting surface and uses high-speed photography to capture launch conditions in the first moments of flight, producing real-time data on ball speed, carry distance, total distance, spin rates, launch angle, and shot shape. This technology has been validated through extensive use in both home and commercial settings.
We may earn a commission when you buy through this link, at no additional cost to you.
The 3D ball flight visualization provides immediate visual feedback that helps you understand shot shape and trajectory without needing to interpret raw numbers. When paired with compatible simulation software, the SkyTrak can power a full virtual golf experience with realistic course play and practice modes. The wireless connectivity eliminates cable clutter in your simulator bay, and the built-in rechargeable lithium-ion battery delivers up to four hours of continuous use, which is enough for most practice sessions or a full virtual round.
As the predecessor to the newer ST MAX, this model lacks some of the updated features and software integration that the latest generation offers. The data accuracy is still solid for photometric technology, but the software ecosystem and course library may not be as current or as seamlessly integrated as what the ST MAX provides through the Foresight platform. The 3.8-star rating reflects a mix of satisfied long-term users and newer buyers who expected more features at this price point.
The key difference between the two SkyTrak models is the software platform and generation of hardware. The ST MAX benefits from the Foresight Sports integration, which brings a more modern simulation environment and an included first-year subscription. The original SkyTrak uses an older software framework that may require separate purchases for full course access. If both models are available at similar prices, the ST MAX offers better out-of-the-box value. The original model is worth considering only if the price difference is substantial.
The SkyTrak original makes the most sense for golfers who find it at a discounted price compared to the ST MAX and are comfortable with the existing software options. If the price gap between this model and the ST MAX is small, the newer version with its included Foresight software year is likely the better long-term investment. However, if you can acquire the original SkyTrak at a significant discount and pair it with third-party simulation software, it remains a capable photometric launch monitor for indoor practice and play.
Buyers who want the latest software features and are willing to pay the premium for the newer ST MAX model.
We may earn a commission when you buy through this link, at no additional cost to you.
Golf simulators vary enormously in price, technology, and intended use. The following factors will help you narrow down the options and choose a system that matches your space, budget, and practice goals.
The launch monitor is the core component of any golf simulator, and the technology it uses has a major impact on data accuracy and indoor performance. The two primary technologies are photometric and Doppler radar. Photometric monitors use high-speed cameras to capture the ball in the first few inches after impact, measuring ball speed, launch angle, and spin from a very short flight path. This makes them particularly well suited for indoor use where the ball travels only a few feet before hitting a screen or net. Doppler radar monitors track the ball over a longer flight distance using radio waves, which tends to produce highly accurate data outdoors but can struggle in tight indoor spaces where the ball flight is too short for the radar to lock on.
Some newer launch monitors combine both technologies to capture a more complete data set. The Rapsodo Golf Launch Monitor in this guide, for example, pairs Doppler radar with dual cameras to measure both ball flight and club delivery metrics. Combined systems can offer the best of both worlds but may require more careful positioning and calibration to function properly. The trade-off is that more complex systems can be more sensitive to environmental factors like lighting conditions and room dimensions.
If you plan to use your simulator primarily indoors, a photometric launch monitor is generally the safer choice for consistent accuracy. If you split your time between indoor and outdoor practice, a radar-based or hybrid system may provide better versatility. Consider your primary use case before prioritizing one technology over the other.
The number and type of metrics a launch monitor captures directly affects how useful it is for game improvement. Basic models measure ball speed, club speed, and carry distance, which is enough for most recreational golfers who want to confirm their yardages and track consistency. More advanced units add spin rate, spin axis, launch angle, launch direction, club path, face angle, and face-to-path measurements, which provide the detailed feedback that low-handicap players and instructors rely on for swing analysis and club fitting.
It is important to distinguish between directly measured metrics and derived estimates. Some launch monitors measure ball speed directly but estimate spin rate based on algorithms, which can reduce accuracy for certain shot types. Higher-end units with multiple sensors or cameras tend to measure more metrics directly, resulting in more reliable data across different clubs and shot shapes. If spin data is critical for your practice goals, look for a monitor that explicitly measures spin rather than calculating it from other variables.
Match the data depth to your actual needs. A beginner working on basic contact and consistency does not need face-to-path measurements, and paying extra for metrics you will not use is a common mistake. Conversely, if you are actively working with an instructor or trying to dial in precise yardage gaps, the additional data from a more capable monitor will pay dividends in faster improvement.
One of the most overlooked costs in golf simulator ownership is the software subscription. Many launch monitors require an active membership to unlock virtual course play, advanced practice modes, and tournament features. These subscriptions can range from a few hundred to over a thousand dollars per year, which significantly affects the total cost of ownership over the life of the product. Before purchasing any launch monitor, research the ongoing software costs and what features are available on the free tier versus the paid tier.
Course library size varies dramatically between platforms. Some systems offer access to over 40,000 courses, while others provide a smaller selection of highly detailed, professionally rendered venues. A larger number is not always better if the course quality is inconsistent. Look for platforms that include well-known championship courses and offer realistic green contours, fairway conditions, and weather simulation, as these details make virtual rounds more engaging and more useful for course management practice.
Factor in at least two to three years of subscription costs when comparing total prices between launch monitors. A monitor with a lower upfront price but expensive annual software may cost more over time than a pricier unit with included or cheaper software. The SkyTrak ST MAX, for example, includes a full year of Foresight software, which offsets a portion of its higher purchase price compared to models that charge for software from day one.
Available space is often the most limiting factor in choosing a home golf simulator. You need enough ceiling height for a full driver swing without striking the ceiling, enough width to accommodate your swing arc and any side nets, and enough depth between the hitting position and the impact screen to allow safe ball deceleration. A common minimum recommendation is roughly 10 feet of ceiling height, 12 feet of width, and 15 to 20 feet of depth, though these dimensions vary depending on your height, swing style, and the clubs you plan to use.
Enclosure options range from simple freestanding practice nets to fully framed cages with impact screens, blackout material, and projector mounts. A basic net is sufficient if you only need a safe place to hit balls with a launch monitor. A full enclosure with an impact screen is necessary if you want projected course visuals and an immersive simulator experience. Some products in this guide, like the Homevol 2-in-1 Net System, offer a hybrid approach that lets you start with net practice and upgrade to a screen-based setup later.
Measure your space carefully before ordering any enclosure or net system, and account for the distance between the hitting mat and the screen separately from the total room length. A frequent mistake is measuring the room dimensions without subtracting the space needed behind the hitting position for a full backswing, which can result in a setup that feels cramped and restricts your swing.
If you plan to use your launch monitor at the driving range, on the practice tee at your club, or in multiple locations, portability becomes a critical factor. Compact units like the Rapsodo Mobile Launch Monitor and the Garmin Approach R10 weigh very little and fit easily in a golf bag, making them practical companions for outdoor practice. Larger photometric monitors and full enclosure systems are designed for semi-permanent installation and are not practical to move frequently.
Setup time varies from seconds to hours depending on the system. Smartphone-connected monitors typically require nothing more than placing the unit behind the ball and opening an app. Full enclosure systems with impact screens, projectors, and launch monitors can take several hours to assemble and calibrate, especially on the first installation. Consider how often you will need to set up and tear down the system, and whether a permanent installation is feasible in your space.
If portability is a priority, choose a lightweight launch monitor with long battery life and a simple setup process. If you have a dedicated room or garage bay that can house a permanent installation, a more complex system with an enclosure and projector will deliver a more immersive and feature-rich experience.
Most golf simulators require an external device to display data, run simulation software, and control settings. The specific compatibility requirements vary by product and can be a deciding factor if you already own a particular phone, tablet, or computer. Some launch monitors work exclusively with iOS devices, others support both Android and iOS, and some require a Windows PC or Mac for full software functionality. Check the compatibility requirements carefully before purchasing to avoid discovering that your existing devices are not supported.
Display options also affect the overall experience. A smartphone screen is adequate for reviewing basic shot data at the driving range, but it is too small for an immersive simulator experience at home. A tablet provides a better balance of portability and screen size for casual simulator play. For a dedicated golf bay, connecting your launch monitor to a large monitor or projector via HDMI creates the most engaging and realistic course play experience. Some premium units, like the Garmin Approach R50, include a built-in touchscreen that eliminates the need for an external display entirely.
Consider what devices you already own and whether you are willing to purchase additional hardware. If you plan to build a dedicated simulator bay, budget for a projector or large monitor in addition to the launch monitor and enclosure. If you want a simple setup with minimal extra equipment, look for a launch monitor with a built-in display or one that works well with a tablet you already have.
Golf simulators span a vast price range, from under two hundred dollars for a basic smartphone-connected monitor to nearly five thousand dollars for a premium all-in-one system. The right budget depends on how frequently you will use the system, how seriously you take data accuracy, and whether you view the purchase as a long-term investment in your game or a casual off-season activity. A common mistake is buying the cheapest option available and then becoming frustrated with limited data or poor indoor accuracy, leading to a second purchase within a year.
Total cost of ownership includes more than the hardware price. Factor in software subscriptions, enclosure or net costs, a projector if needed, hitting mats, practice balls, and any mounting hardware or cables. A launch monitor that costs five hundred dollars but requires a thousand-dollar annual software subscription is more expensive over three years than a monitor that costs fifteen hundred dollars with included software. Calculate the five-year cost of each option you are considering to make a fair comparison.
Set a realistic budget that accounts for all necessary components, not just the launch monitor. If your budget is limited, a quality practice net paired with a budget launch monitor can provide excellent value and leave room to upgrade individual components over time. If you have the resources for a premium setup, investing in accurate technology and a durable enclosure will deliver a more satisfying and longer-lasting simulator experience.
Position your launch monitor according to the manufacturer’s guidelines for the most accurate readings. Photometric units typically sit beside the ball on the hitting surface, while radar-based monitors are placed several feet behind the ball. Ensure the area around the sensor is clear of obstructions and that lighting conditions are consistent, as both shadows and bright direct sunlight can interfere with camera-based tracking. Take a few minutes at the start of each session to verify that the unit is level and properly aligned with your target line.
Maintain your impact screen and enclosure by inspecting the fabric regularly for wear, tears, or loose fasteners. Rotate the screen periodically if you notice concentrated wear in the center hitting area, as this extends the life of the material and maintains a flat projection surface. Keep the enclosure frame clean and check that all connections remain tight, especially if the system is set up in a garage where temperature fluctuations and humidity can cause metal components to expand and contract over time.
Store your launch monitor in a protective case when not in use, and avoid exposing it to extreme temperatures or moisture unless the unit is specifically rated for outdoor conditions. Charge the battery regularly even during periods of infrequent use to prevent deep discharge, which can reduce overall battery lifespan. Keep the camera lenses and sensor windows clean by wiping them gently with a microfiber cloth, as dust and fingerprints can degrade tracking accuracy over time.
A launch monitor is a device that measures ball and club data such as speed, launch angle, and spin. A golf simulator is the complete experience that combines a launch monitor with simulation software, a display or projector, and often an enclosure with an impact screen. The launch monitor provides the data, while the simulator uses that data to render virtual courses and practice environments on screen.
A typical minimum is about 10 feet of ceiling height, 12 feet of width, and 15 to 20 feet of depth. Taller golfers or those with steep swing planes may need additional ceiling clearance. Measure your space with your longest club in hand and take a full practice swing to confirm that you have adequate room before investing in an enclosure or impact screen.
Most launch monitors provide basic shot data through a free app, but virtual course play, advanced practice modes, and tournament features typically require a paid subscription. Annual costs vary by platform and can range from a few hundred to over a thousand dollars. Some products, like the SkyTrak ST MAX, include a year of software with the hardware purchase.
Many launch monitors work both indoors and outdoors, though accuracy can vary depending on the technology. Radar-based monitors generally perform better outdoors where the ball has a longer flight path to track. Photometric monitors are more consistent indoors but can also function outside in appropriate lighting conditions. Check the specific product specifications for outdoor compatibility and weather resistance ratings.
Budget launch monitors provide useful directional data on ball speed, carry distance, and launch angle, but they typically lack the precision of premium units for spin rate, spin axis, and club delivery metrics. For recreational golfers confirming yardages and tracking general improvement, a budget monitor is often sufficient. Low-handicap players and those doing club fitting work will benefit from the more detailed and accurate data that premium monitors provide.
Requirements vary by product. Some launch monitors work with smartphones or tablets running iOS or Android, while others require a Windows PC or Mac for full simulation software. A few premium models include built-in touchscreens that eliminate the need for an external device. Always check the compatibility requirements for the specific launch monitor and software platform you are considering.
A golf simulator can support handicap improvement by providing consistent practice opportunities regardless of weather, delivering objective data on your strengths and weaknesses, and allowing you to play virtual rounds that build course management skills. The key is using the data intentionally rather than hitting balls aimlessly. Focus on specific metrics, track trends over time, and combine simulator practice with on-course play for the best results.
A projector is only necessary if you want to display virtual courses on a large impact screen for an immersive experience. Many launch monitors display data and basic simulation on a smartphone, tablet, or computer monitor without a projector. If you are building a dedicated simulator bay and want a full-screen course view, a projector rated for at least 3,000 lumens is recommended to produce a bright, clear image on the impact screen.
Setup time ranges from a few seconds for a portable launch monitor to several hours for a full enclosure system with a projector and impact screen. Smartphone-connected monitors like the Rapsodo Mobile require minimal setup, while complete bay installations with framing, screen mounting, and projector alignment can take a full afternoon. Plan for a longer initial setup and expect subsequent sessions to require only a few minutes of preparation.
The Garmin Approach R50 stands out as the most complete golf simulator in this guide, combining a three-camera tracking system, a built-in touchscreen, high-speed impact video, and access to over 43,000 courses in a single portable unit. For golfers who want the most accurate data and the most immersive simulation experience without assembling a complex multi-component setup, the R50 justifies its premium price with features that rival commercial installations.
For buyers working within a tighter budget, the Garmin Approach R10 offers an excellent balance of portability, data depth, and course play at a mid-range price, while the Rapsodo Mobile Launch Monitor provides core shot tracking and shot tracer replay at the lowest cost in this comparison. The Homevol 2-in-1 Net System and the Complete Enclosure Package are strong choices for golfers who need the physical infrastructure to practice safely at home before adding a launch monitor.
Your best choice depends on how you plan to use the system, how much space you have, and how much you are willing to invest in both hardware and ongoing software costs. Start by defining your primary goal, whether that is precise data analysis, casual virtual rounds, or simple off-season swing maintenance, and then select the option that delivers the features you need without paying for capabilities you will not use.